Nurturing workflows typically involve a series of emails or other types of content that are triggered by specific actions or behaviors taken by the lead, such as downloading a white paper, attending a webinar, or filling a certain form on your website.
The content that is sent in these workflows is typically tailored to the specific interests and needs of the lead, based on their behavior and other data that you have collected about them.
The ultimate goal of a nurturing workflow is to keep your brand top of mind and build trust and credibility with your prospects, so that when they are ready to make a purchase, they are more likely to choose your company over your competitors. Another goal is to be able to refine the Lead Scoring of your leads based on their interaction with your Nurturing content!
Summary:
Why do you need to optimize your Nurturing Workflow?
You often hear that nurturing leads is key to help them go through the buyer journey and it’s true! But you might be tempted to simply create a 5 personnalized email sequence (like below) and see how it goes:

Doing this, technically work as a designated lead will receive your communication. However, your control on the sequence will be really limited and tracking your performance might be a nightmare.
When it comes to Nurturing, you need to remember that the sequence should bring a Marketing Contact from A to B by using a specific Call to Action (CTA) proposing a meeting or a Lead Magnet for instance.
Not tracking this CTA will make you not able to evaluate the performance of your nurturing campaign.
Here we will see how to build a Workflow that automatically tracks the CTA performances to analyze them on reports, and make sure that the lead follows the sequence only if it still matches the desired criterias.
To illustrate this Workflow, we will build a nurturing sequence for leads “Open”. The goal of this nurturing is to make the lead book a meeting. The lead should receive this nurturing as long as it is not considered as “Unqualified”. (Learn how to automate your lead qualification)
If the lead clicks on “Book a meeting” or replies to the email, the nurturing will stop.
We want to be able to track the performance of the “Book a meeting” CTA for highly engaged leads, and the performance of “Visit my Youtube Channel” for less engaged ones.
Prerequisites
To complete this workflow you will need:
- At least HubSpot Marketing Pro plan
- A “Nurtured - Main CTA” custom property (we'll create it together).
- A “Nurtured - Other CTA” custom property (we'll create it together).
- The emails that will constitute your Nurturing Campaign

Workflow Building
Preparations
As mentioned before, in order to realize your Nurturing Workflow, you will need to create your tracking properties. Those “Single checkbox” properties aim to be set as “Yes” when a lead clicks on the chosen CTA in your email.
To do so, go to Setting → Properties → Create property, and create a “Contact Activity” Single checkbox property that you will name in a memorable way (cf: Nurtured - Meeting CTA). And repeat this process for every link you want to track.

Quick notes on emails before we jump in the Workflow building :
To use Emails on workflows, you will need to create “Automated Emails”.
Your goal is to optimize your nurturing sequence. By knowing that, you should use all the tools you have to meet that goal. Thus, do not hesitate to create A/B test emails, that way you can simultaneously test two iterations of your communication. HubSpot will let you know at the end of the test the winning version.
When it comes to A/B testing, only test one change at a time. For instance, your first test will be on the email subject to get the best open rate. Then, once the test is over, you will test to change the CTA wording to get the best click rate. etc.
You can’t use the same A/B Automated email in two different workflows. It’s a good thing. In order to get a consistent view on your performance. A good practice would be to allocate one email to one campaign. If you are using the same content. Feel free to duplicate it and rename it internally to match your campaign.
What kind of workflow?
When creating a workflow, you will be able to define its “nature” via three options:
- From scratch or from a template
- The type of workflow (based on contacts, companies, deals etc.)
- The starting conditions (empty Workflow, from a date, a date property etc.)
In the case of our Workflow, we are going to choose: From scratch, based on *The type of criteria that will trigger your nurturing sequence* starting from an empty workflow.
Enrollment Triggers
The registration criteria will define the conditions of entry into the workflow. Choose the property values that define the entry condition of your nurturing campaign.
In our case, we want to include all the leads with the “Lead Status = Open”

There is nothing more frustrating than receiving the same email two times. In that case, do not activate the Re-enrollment feature. It’s inactive per default, but it takes two seconds to verify it.

Setup the first email
The first step is to send the first email of your nurturing sequence. Click on add a step and scroll down to “Send an email”:

Choose your first email and click “Save”.
Then, you need to think of the time delay between two sendings. In this case, I will choose a 3 days delay but it will depend on your nurturing strategies.
Add a delay by adding a next step and choosing “Delay for a set amount of time”.

Identify and track clicks
The goal of our workflow is to be able to identify the leads that clicked on a specific link. So now, let’s dig into that part of the workflow.
We want to know if the lead clicked or replied to that mail within those 3 days. So we will add a “If/then branch”.

Then choose “Marketing Emails” → Select your first email and pick “Contact clicked on a link in email” → “Any link”

Another possibility is that the lead replies to your email. If it’s the case, you don’t want this lead to receive other emails before you answer it.
Clone this filter and modify it to “contact replied to email”.

You should end up with this “If branch”.

We want to separate the Clicked on “Book a meeting” and “Clicked on Youtube”, as we want to track both data and only end the workflow for “Book a meeting” clicks and replies.
Go under the green branch “Has Clicked” and add another If/then Branch.
Create a branch with “Marketing Email” → Select the same email → “contact clicked on a link in email” → choose the link of your main CTA. Clone it and add the “Contact replied to email. (Basically the same as above but limited to the Main CTA URL).
Create a second branch with “Marketing Email” → Select the same email → “contact clicked on a link in email” → choose the link of your other CTA (here the Youtube link)
You will end up with that result:

Last step of this part is to setup the tracking property we created above on “Yes” under each of those branches:
Add a step → Set property value → choose your tracking property → Set as “Yes”.

Now, every time a lead will click on those CTAs, those properties will be updated. You can track them. If you want to follow the evolution of those clicks, do not forget to timestamp them.
Verify if the lead should still receiving the communication
The last two things we want to do before sending the second email is to check if the lead still matches our Nurturing condition (in that case, is not “unqualified"), and make sure leads that have clicked on secondary CTA do not leave the workflow.
Simply go back to the first If/then branch, and under “None met” add a If/them Branch to check those criterias.

To make the “secondary CTA” and other links clicked leads continue the workflow add a “Go to other action” to redirect them to the first None Met Branch.

Here you have a complete optimized campaign tracker for your nurturing emails.
Repeat for each email of the sequence
To add another email, you don’t have to do that all again! Simply go to the first mail, click on → Clone this action and all after it and place it under the Met criteria of your verification Branch.

Change the mail to the Second one, and adapt the If/them branches with the new email.
Repeat for all the emails of your sequence.
Endnotes
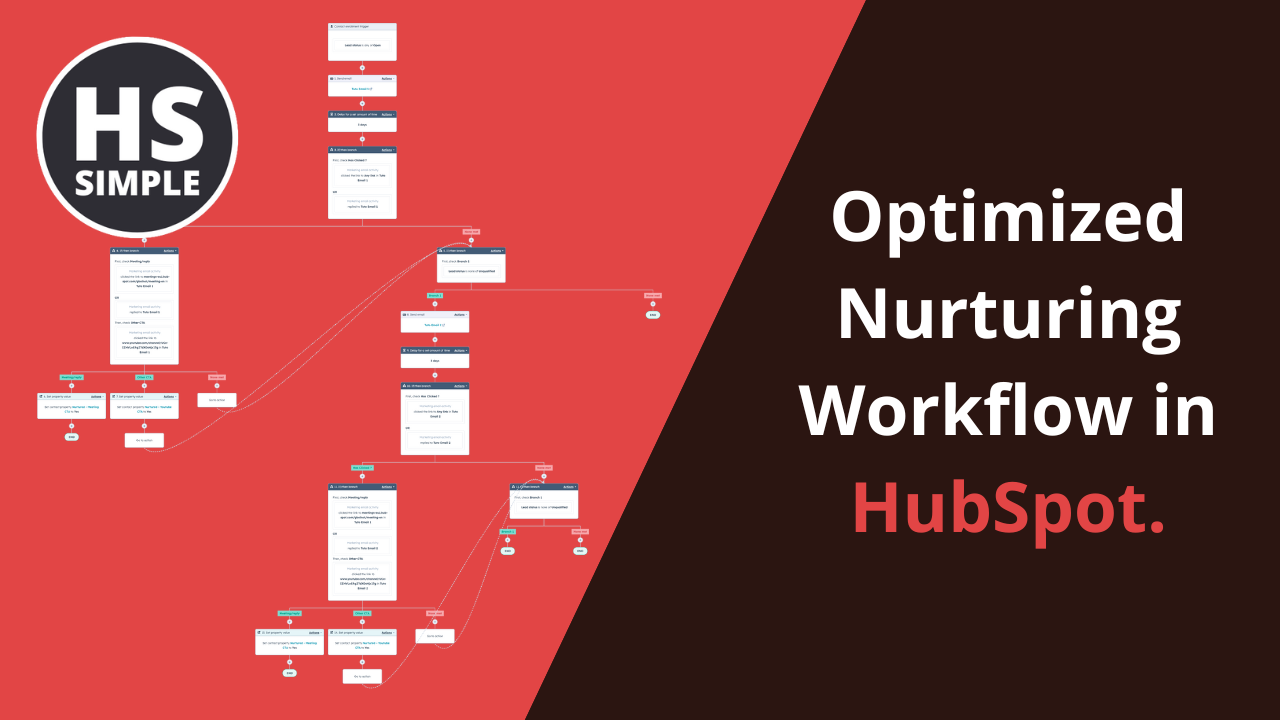
Hope this tutorial was useful and did not lost you. Here is a overview of your new optimized Nurturing Workflow:

If you want to find all the workflows created and presented by HS Simple, do not hesitate to request your free access to the workflow box. A private web page listing all the workflows requested by the community with a video explanation and a simple action plan in the form of a “to-do list”.

Comments